Newsletter plugin
- Quick start
- Writing newsletters
- Scheduling
- Subscribers & forms
- Welcome & lead magnet
- Pro plugin
- Templates
- AI Agents
General
Looking for the Facebook posting plugin? See its docs →
This page mentions tools we use ourselves. Some links are affiliate links — if you sign up after clicking through, we earn a small commission, at no extra cost to you. See the full list of tools we use.
Pro plugin
The pro plugin is a separate companion zip that extends the free plugin. It is distributed by email to subscribers of the free daily newsletter at onetwothreesend.com — install the free plugin first, then drop the pro zip in alongside it.
What it adds
- Stripe paywall — Free / Paid toggle on every newsletter. Free subscribers receive a teaser + Subscribe CTA on paid issues; paid active subscribers receive the full body. Webhook keeps subscription status in sync.
- Additional email providers — Mailchimp (Mandrill Transactional), MailerLite, Brevo, Kit (ConvertKit), Amazon SES, and Resend (setting up Amazon SES? Paste the region slug like
eu-west-1— not the full SMTP host. See troubleshooting if sends fail silently.). Adds a Provider settings panel for each. Note that SES (and any selected Pro provider) routes newsletter sends only — otherwp_mail()traffic on the site (password resets, admin notifications, contact-form receipts) still goes through the host’s default mail path. If you need every outbound to go through SES, configure SES at the host level instead. - Popup & slide-in forms — two new form types with time / scroll triggers and cookie-based frequency cap.
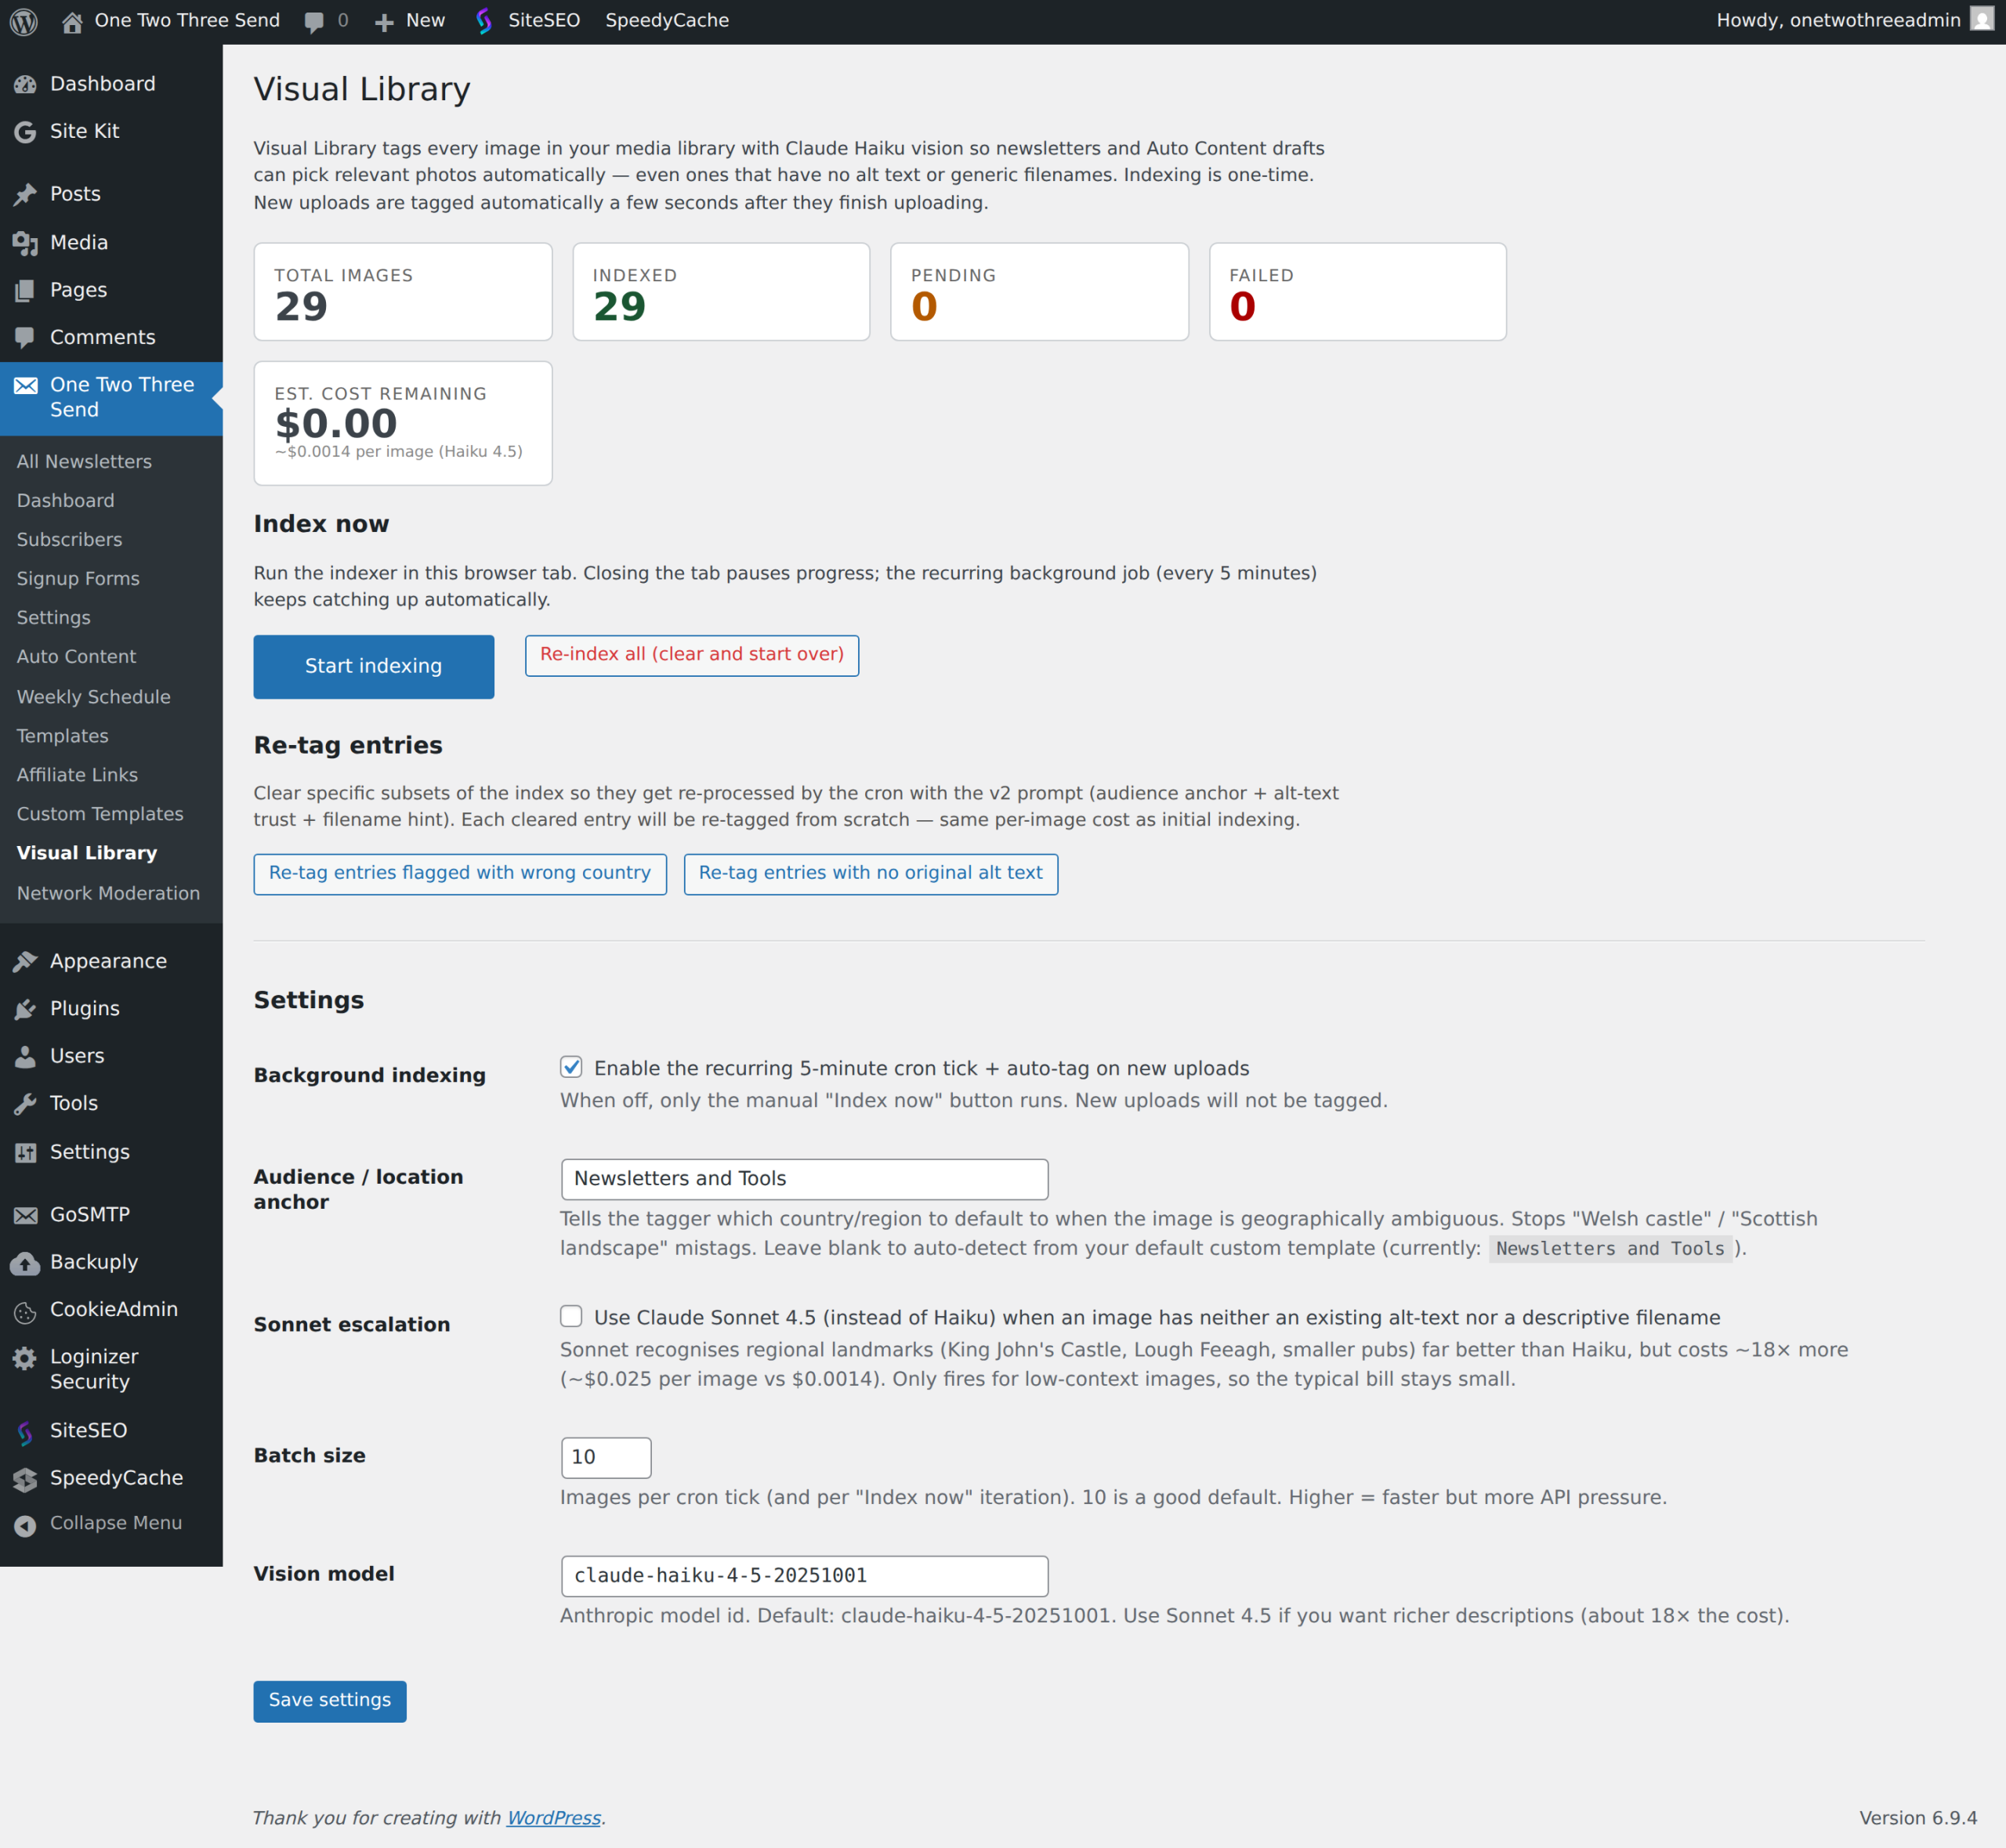
- Full AI audit — Claude-backed extension to the basic audit. Adds five LLM checks: tone match, opening hook, structure, call-to-action strength, subject vs body match.
- Public newsletter archive — opt-in
/newsletters/page listing every sent issue. Paid issues show a teaser to non-subscribers. - Open-rate reporting — 1×1 tracking pixel injected into every send, deduplicated per recipient.
- Newsletter templates — Newsroom layout for daily editions: dated masthead, sensory opener, feature article with subhead and CTA, three named sub-sections, referral prompt, footer (separate doc).
- Affiliate-link rules — operator-defined rules that auto-link bare brand names or domains in any blog post. Preview changes to all posts button on each rule form shows exactly which posts the rule would touch before saving. After saving, also apply this rule to every existing published blog post checkbox runs the same rewriter across the archive in one shot, instead of waiting for posts to be re-edited (2.14.114+).
- AI Agents — directive-driven blog post generator (separate doc).
- Newsletter Network — opt-in cross-promo. Newsletter → Settings → Newsletter Network lets you list your newsletter on a small registry hosted at onetwothreesend.com. Drop
into a page or rely on the auto-append on single blog posts, and your readers see a small grid of other newsletters from the network in exchange for yours appearing on their sites. Click-throughs land on the destination with?utm_source=otts_network&utm_medium=widget&utm_campaign={your_site_host}, so the destination’s analytics (and the free plugin’s signup-source column from 2.0.17+) can credit the network for the visit. - Weekly Schedule (unified) — One Two Three Send → Weekly Schedule in Pro replaces what used to be split across the free plugin’s Settings → Schedule and Pro’s old Send Times menu. One screen owns generation times, send times, auto-send toggles, and per-day rows. Runs the editor pass + full audit gate before any auto-send fires. By default paid newsletters are held for manual approval; turn on the separate Auto-send-paid toggle (2.14.110+) when you want paid issues to auto-fire too — requires Auto-send to also be on, off by default for the reasons most operators expect.
Install
- Confirm the free One Two Three Send plugin is installed and active.
- Plugins → Add New → Upload Plugin → pick
one-two-three-send-pro.zipfrom the welcome email → Install Now → Activate. - Configure each feature in One Two Three Send → Settings: Payments, Email Provider (now with extra options), Archive.
Stripe paywall — full setup
In Stripe
- Dashboard → toggle Test mode on while you set up.
- Developers → API keys — copy the publishable key (
pk_test_...) and reveal-then-copy the secret key (sk_test_...). - Product catalog → Create product. Name it (e.g. “Paid weekly edition”), add a recurring monthly price, save. Copy the price ID (
price_...). Optionally add an annual price and a founder price. - Set the product’s statement descriptor (e.g.
YOURDOMAIN.COM, max 22 chars) so card statements identify your charges. - Developers → Webhooks → Add endpoint. URL:
https://yourdomain.com/wp-json/otts/v1/stripe-webhook. API version: latest stable (e.g.2026-04-22.dahlia). Events to listen for:checkout.session.completed,customer.subscription.deleted,invoice.payment_failed. After saving, copy the signing secret (whsec_...).
In WordPress
- One Two Three Send → Settings → Payments.
- Paste the publishable key, secret key, webhook signing secret.
- Paste the monthly price ID. Optionally paste the annual and founder price IDs.
- Set free trial days (optional), success URL, cancel URL.
- Save.
Test the flow
- Subscribe a test email to your free list.
- Create a test newsletter, mark it Paid, send.
- The test email should receive a teaser + Subscribe button.
- Click Subscribe — Stripe Checkout opens. Use card
4242 4242 4242 4242, any future expiry, any 3-digit CVC. - Stripe fires
checkout.session.completedwebhook → the subscriber’s row inwp_otts_subscribersflips tosubscription_type=paid,subscription_status=active. - Re-send the same newsletter — that subscriber now receives the full body.
Going live
Switch Stripe to Live mode. Recreate the product + prices in live mode (test products do not carry over). Repeat the webhook setup for the live endpoint. Update the keys + price IDs in WordPress with their pk_live_... / sk_live_... / new live price IDs.
Amazon SES bounce + complaint auto-cleanup
If you send newsletters through Amazon SES, AWS will throttle and eventually suspend your sending if your bounce rate climbs above ~5% or complaint rate above ~0.1% — even if those numbers come from a handful of dead addresses on a small list. The cleanest defence is to wire SES bounce + complaint events back into the plugin so dead and complaining addresses are auto-marked and never re-sent to.
The Pro plugin already ships the receiver — POST /wp-json/otts-pro/v1/ses-events, gated by a per-site shared secret in the URL query string. AWS just needs to be configured to publish events to it. One-time setup, about ten minutes per site.
What the loop does
- Subscriber’s mailbox doesn’t exist → SES emits a Bounce event → SNS POSTs to your site → Pro marks the subscriber
status=unsubscribedandbounce_state=invalid. Future sends skip them. - Recipient hits “Mark as spam” in their inbox → SES emits a Complaint event → same path → subscriber unsubscribed.
- Recipient uses Amazon’s native list-unsubscribe header → Subscription event → subscriber unsubscribed (matches your own unsubscribe flow).
Open and click events are not routed through SES — the plugin tracks those itself via a 1×1 pixel and link rewrites, so SES open/click reports would just be duplicates.
Setup — five steps
Naming convention used below: {site-shorthand}-events for the SES Configuration Set, {site-shorthand}-ses-events for the SNS topic. Replace {site-shorthand} with something short and unique per site (e.g. localedinburgh, lovecastles).
- Get the webhook URL. In your WordPress admin: open the URL
https://yoursite.com/wp-json/otts-pro/v1/ses-events/webhook-urlwhile logged in as an admin (the endpoint is admin-only). Copy theurlfield from the JSON response — it already includes the shared secret. You’ll paste this in step 4. - Create an SNS topic. AWS Console → SNS → Topics → Create topic → Standard → name
{site-shorthand}-ses-events. Leave defaults. After creation, click Edit → Access policy and add a statement that lets SES publish to it:{ "Sid": "AllowSESPublish", "Effect": "Allow", "Principal": { "Service": "ses.amazonaws.com" }, "Action": "sns:Publish", "Resource": "<the topic ARN you just created>" } - Create an SES Configuration Set. AWS Console → SES → Configuration → Configuration sets → Create set. Name it
{site-shorthand}-events. Inside the set: Event destinations → Add. Choose Amazon SNS, pick the topic from step 2, and tick exactly these three event types: Bounce, Complaint, Subscription. Save. - Subscribe the webhook to the topic. Back on the SNS topic → Subscriptions → Create subscription. Protocol: HTTPS. Endpoint: paste the webhook URL from step 1. The plugin auto-handshakes the SNS confirmation request — you don’t need to click anything inside the confirmation email. Refresh the subscription list after a few seconds; the status will flip from PendingConfirmation to a real Subscription ARN once the plugin has confirmed.
- Tell the plugin which Configuration Set to tag sends with. WordPress admin → Newsletter → Settings → Email Provider → Amazon SES → set Configuration set (optional) to
{site-shorthand}-events(the name from step 3). Save. Every future send is tagged with that set, so SES routes the events.
Verify it works
SES has a mailbox simulator for exactly this — bounce@simulator.amazonses.com is guaranteed to hard-bounce. Subscribe that address to your site (via your signup form or the subscribers admin), then send any newsletter with at least one recipient. Within 5–10 seconds the SES bounce event should reach the plugin and you’ll see the simulator subscriber flip to status=unsubscribed in Newsletter → Subscribers.
If the flip doesn’t happen, check in this order:
- The SNS subscription is Confirmed (not Pending Confirmation) on the AWS Console. If it’s stuck pending, the plugin couldn’t reach the SubscribeURL — usually a firewall or a misconfigured shared-secret URL.
- The Configuration Set name is set on Newsletter → Settings → Email Provider → Amazon SES. Without it, sends go out untagged and SES has no destination to publish events to.
- The SES Configuration Set’s event destination lists Bounce + Complaint + Subscription as enabled event types, with the SNS topic as the destination.
- The SNS topic’s access policy includes the
ses.amazonaws.compublish grant from step 2 — without it AWS rejects SES → SNS deliveries silently.
Newsletter Network — cross-promotion
Free opt-in network for sites running One Two Three Send Pro. Each site lists its newsletter on a central registry hosted at onetwothreesend.com, drops the
shortcode into a page (or relies on the auto-append on single blog posts), and readers see a small grid of other newsletters in the network. Other sites show yours in return.
How to join
- Verify your free-newsletter subscription email under One Two Three Send → Settings → Subscriber. The network gates listings on a verified subscriber row to keep the registry junk-free.
- One Two Three Send → Settings → Newsletter Network → tick List my newsletter → fill in newsletter name, 1–2 sentence pitch (≤280 chars), subscribe URL, category. Save.
- Your listing enters a “pending review” state. An admin on onetwothreesend.com approves it (usually within 24h).
- Once approved, drop
into any page or rely on the auto-append on single blog posts. Your readers see other newsletters in the network; their readers see yours.
How impressions and clicks are counted
Click-throughs route via onetwothreesend.com/wp-json/otts-pro/v1/network/click/{id} which appends utm_source=otts_network&utm_medium=widget&utm_campaign={your_site_host} to the destination URL — the destination site’s analytics (and the free plugin’s signup-source column from 2.0.17+) can credit the network for the visit.
Impressions count actual reader renders via a small navigator.sendBeacon snippet embedded in the rendered widget. The beacon survives full-page caches (BigScoots boost, Cloudflare, WP Rocket) — earlier Pro versions counted PHP-render events only and undercounted by 10–100× on cached sites. Pro 2.14.125+ ships the beacon path; Manifests 1.2.3+ on the publisher hosts the receiver. From Pro 2.14.128 + Manifests 1.2.5, the same beacon also credits the rendering site’s outbound_impressions counter (looked up from the HTTP Referer host) so cache-heavy sites can earn outbound credit too — closing the loop that previously left them in the free-rider bucket despite their widget rendering on every page view.
Free-rider gate
Listings without outbound widget impressions get rotated out of the recommendation pool after a 30-day grace window — the network only surfaces sites that show others’ newsletters in return. Your performance numbers (impressions, clicks) are visible inside the Network tab once the listing is active.
Visual Library — image tagger
The Visual Library is a Claude-vision-powered index of your WordPress media library. Each image is described, tagged, and indexed for full-text search so the AI generator can pull the right featured image without you having to manually match a caption to a photo. Available at One Two Three Send → Visual Library.
What it does
- Walks your
wp_postsmedia attachments, calls Claude with each image and a short prompt that asks for a description + tag list, stores the result in a customwp_otts_image_indextable. - The structured generation pipeline reads tags from this index when picking imagery for each newsletter section — instead of guessing keywords from the prose, it pulls images whose tags semantically match what the section is about.
- Search the index by tag from the admin to find any photo by its content (e.g. “windmill canal evening”).
Controls
- Index now — kicks off a batch run. Indexes ~50 images at a time via the existing JS-driven progress loop; pauses cleanly between batches so a big media library doesn’t time out.
- Pause — halts an in-flight run.
- Re-index all — wipes the existing index and rebuilds. Useful after upgrading the tagger prompt or when image content has drifted.
Cost. Each image is a single Haiku-vision call (cheap). A library of 1,000 images costs a few cents total.
Pre-req: a Claude API key configured under Settings → AI. The Visual Library will refuse to start without one.
Newsletter archive
One Two Three Send → Settings → Archive → toggle on. Publishes /newsletters/ on your site, listing every sent issue (newest first). Individual issue URLs are /newsletters/{slug}/. Paid issues show a teaser to non-subscribers; paying subscribers reach the full body via a signed URL embedded in their copy of the email.
Open-rate reporting
Active by default once the pro plugin is installed. A 1×1 transparent GIF is injected into every outgoing email. When the recipient’s email client loads images, the pixel hits /wp-json/otts/v1/track/open/{newsletter_id}/{hash} and a row is recorded in wp_otts_opens. The hash is a salted HMAC of the subscriber email — no plaintext email in the URL. Duplicates are ignored (one open per recipient per newsletter).
Next: AI Agents.
Plugin screenshots


