Docs
Quick start
Five minutes from a fresh WordPress install to a sent newsletter.
1. Install the free plugin
- Plugins → Add New → search One Two Three Send, or upload the zip from this site.
- Install → Activate. A new Newsletter menu appears.
2. Paste your Claude API key
- Newsletter → Settings → AI
- Sign up at console.anthropic.com — free to register, pay-per-token usage (typically a few cents per generated newsletter).
- Copy the key, paste it into the Claude API key field, save. Stored encrypted.
3. Connect an email provider
- Newsletter → Settings → Email Provider
- Pick Resend (recommended — generous free tier) or SMTP (any SMTP host).
- For Resend: get an API key at resend.com, paste it.
For SMTP: enter host, port, encryption, username, password. - Save, then click Send test email to admin. Check your inbox.
4. Set sender details
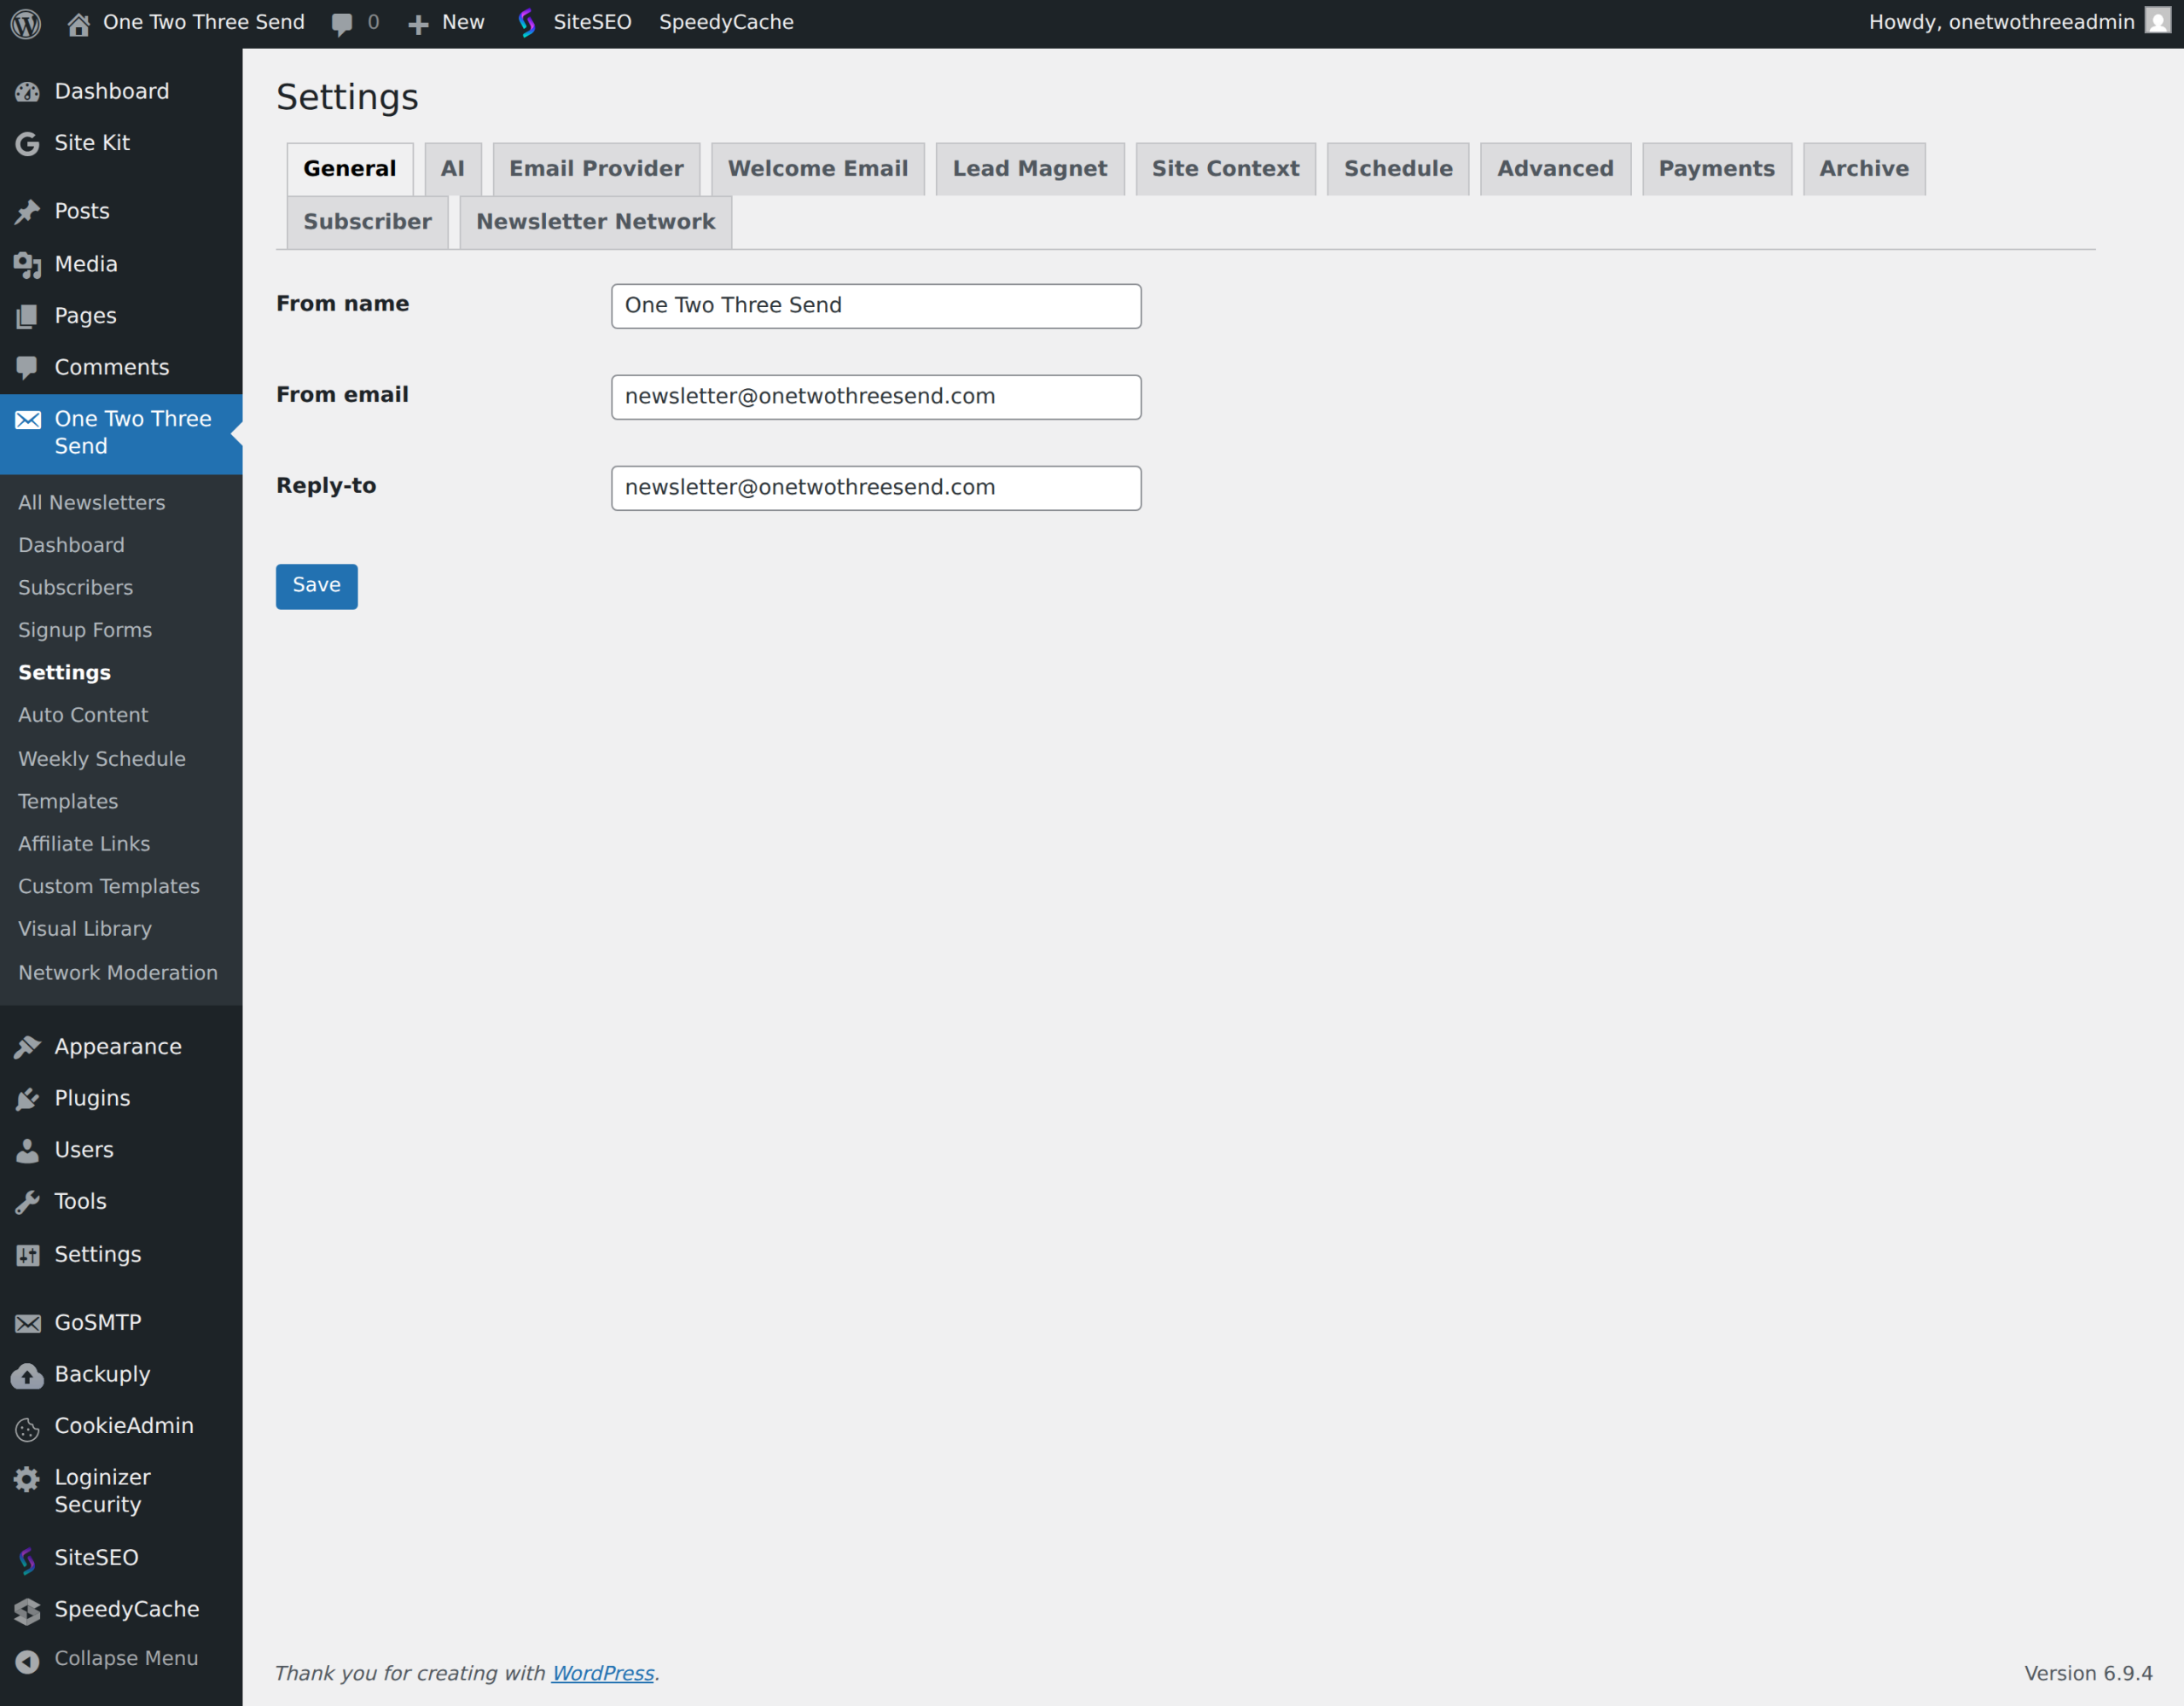
- Newsletter → Settings → General
- From name (e.g. your site name), from email (must be a domain you verified with the provider), reply-to.
5. Generate, audit, send
- Newsletter → New Newsletter. Pick tone + length, leave Topic blank to auto-pick from your most recent posts.
- Click Generate. The draft opens in the editor.
- Review the body. Use the AI sidebar (Rewrite, Shorten, Fix grammar, Suggest subject lines) if you want to polish.
- Click Run full audit — fix any FAILs.
- Add a test subscriber under Subscribers, then click Send Now.
That is the full loop. From here you probably want a signup form on your site and a schedule.
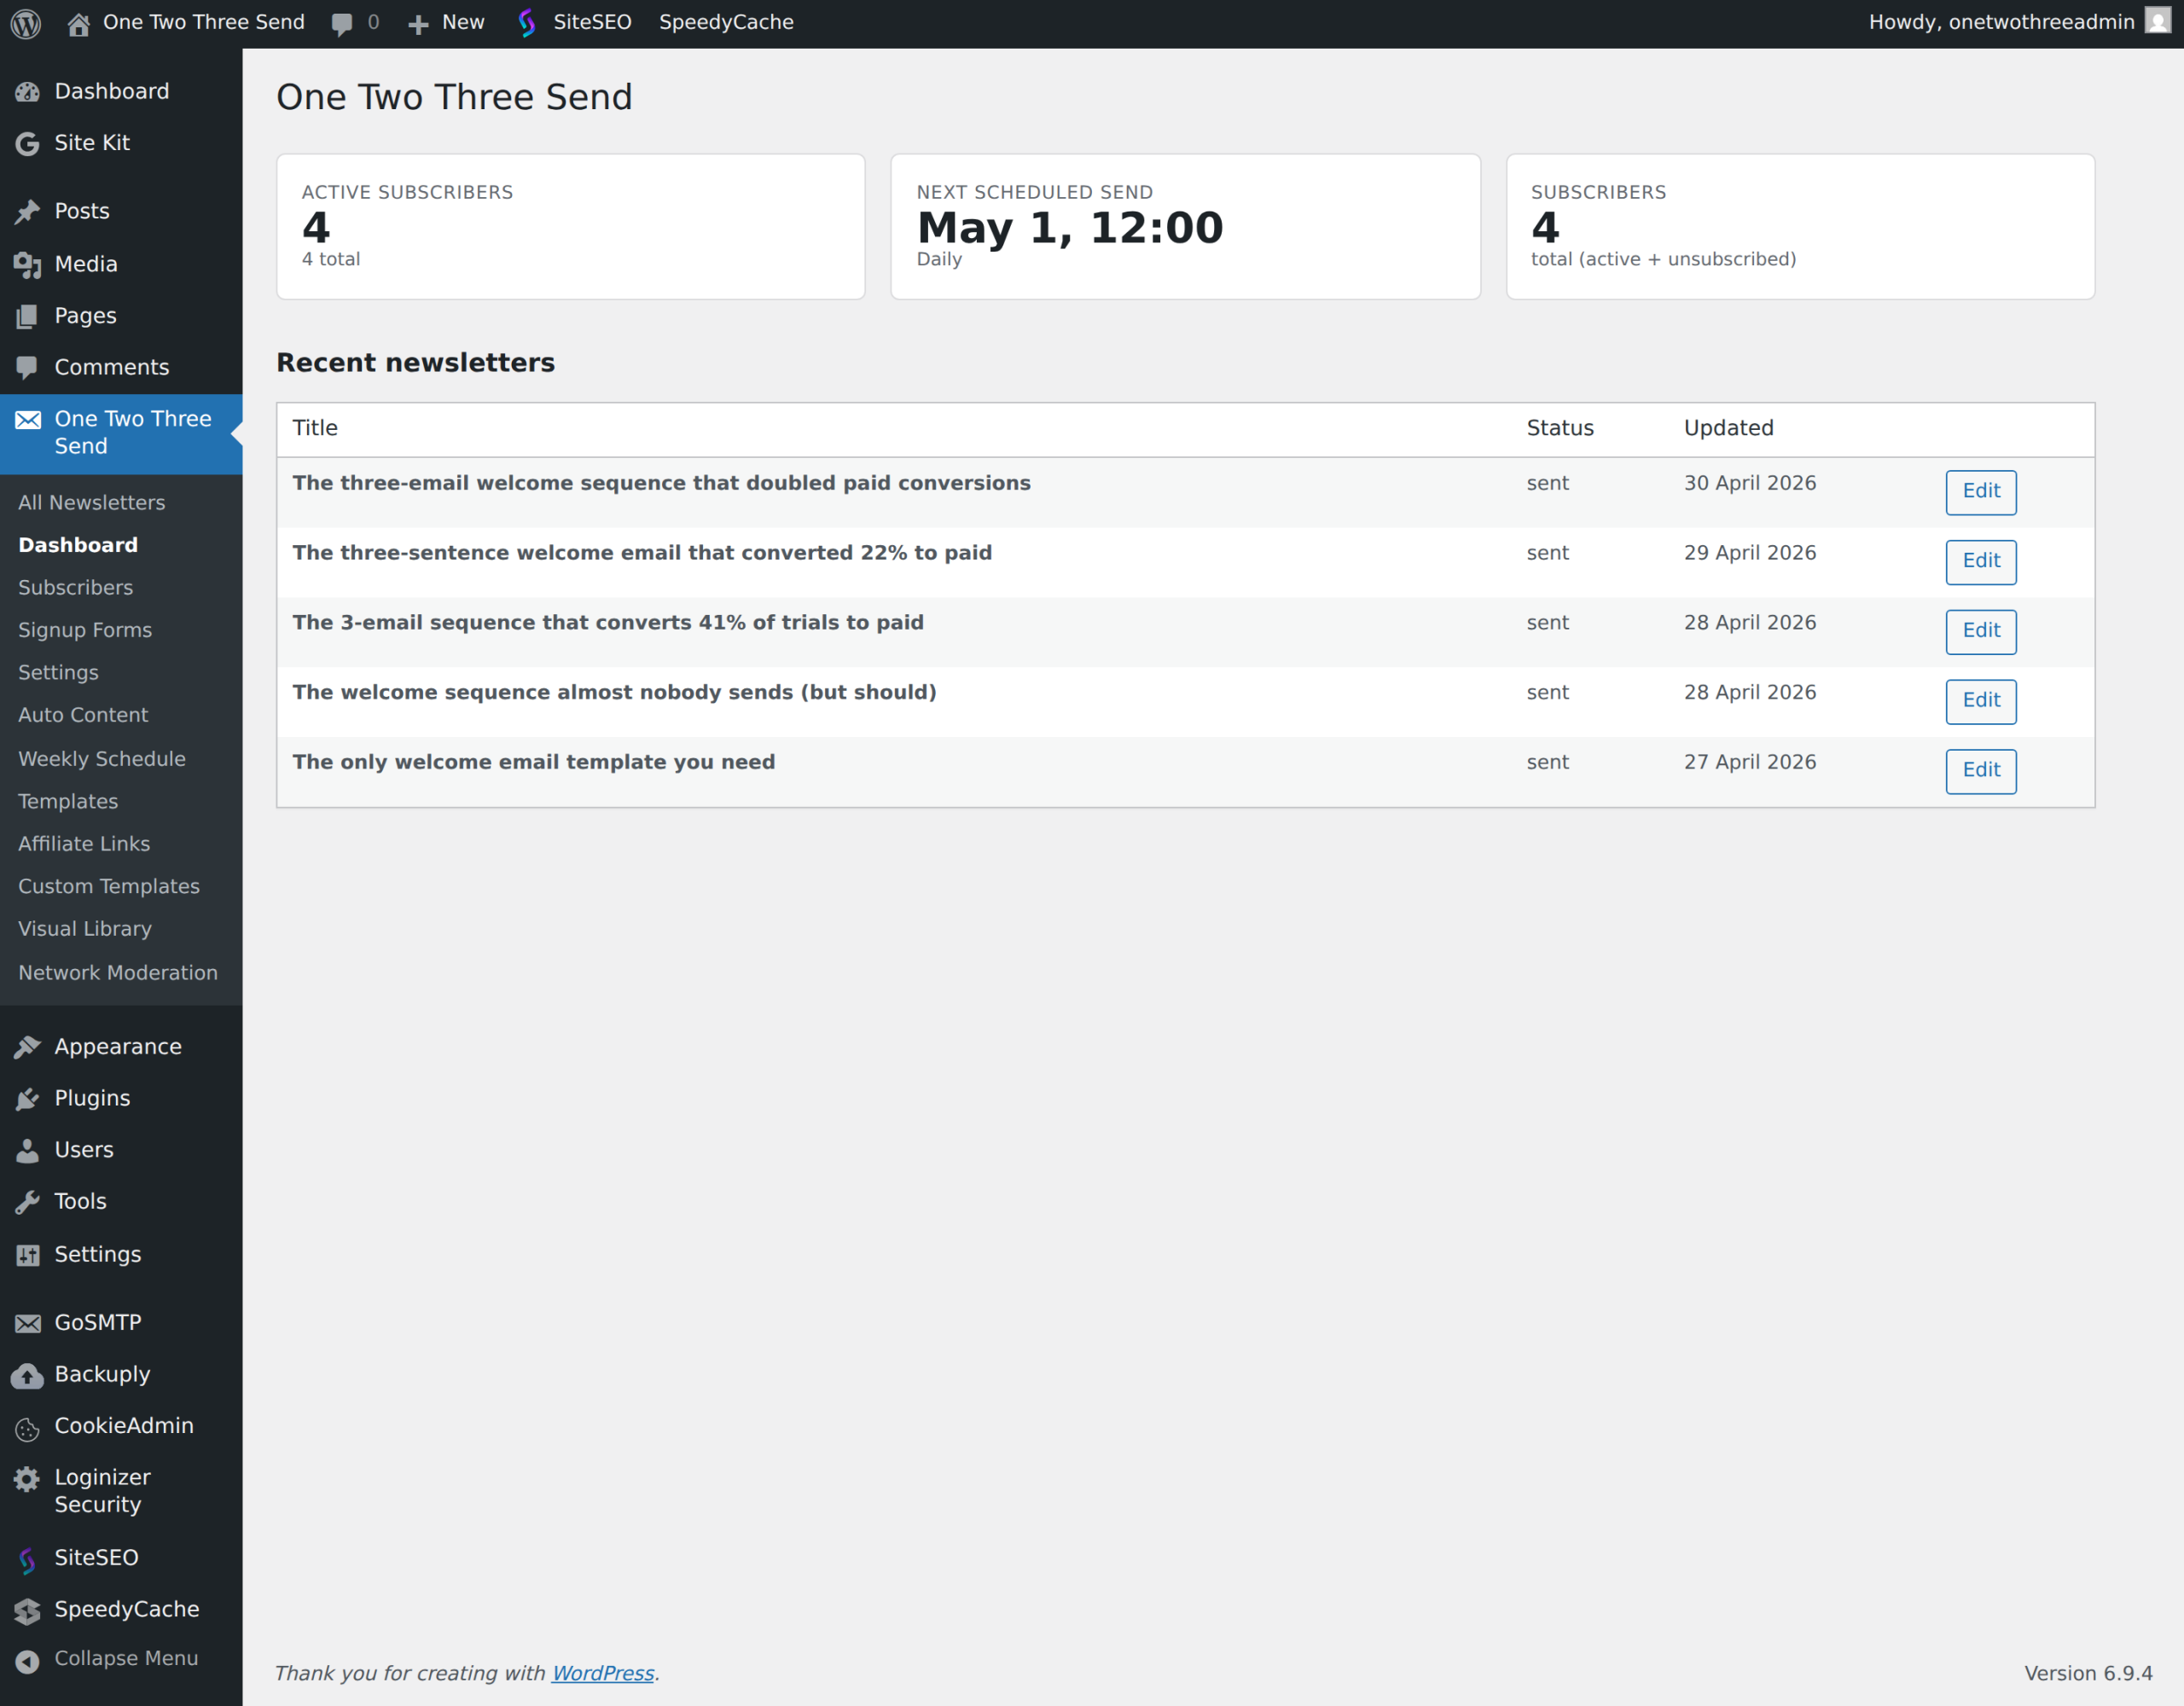
Plugin screenshots